🥔 When Leftover Poha Gets a Crispy Makeover
Got leftover poha or just a handful in your pantry?
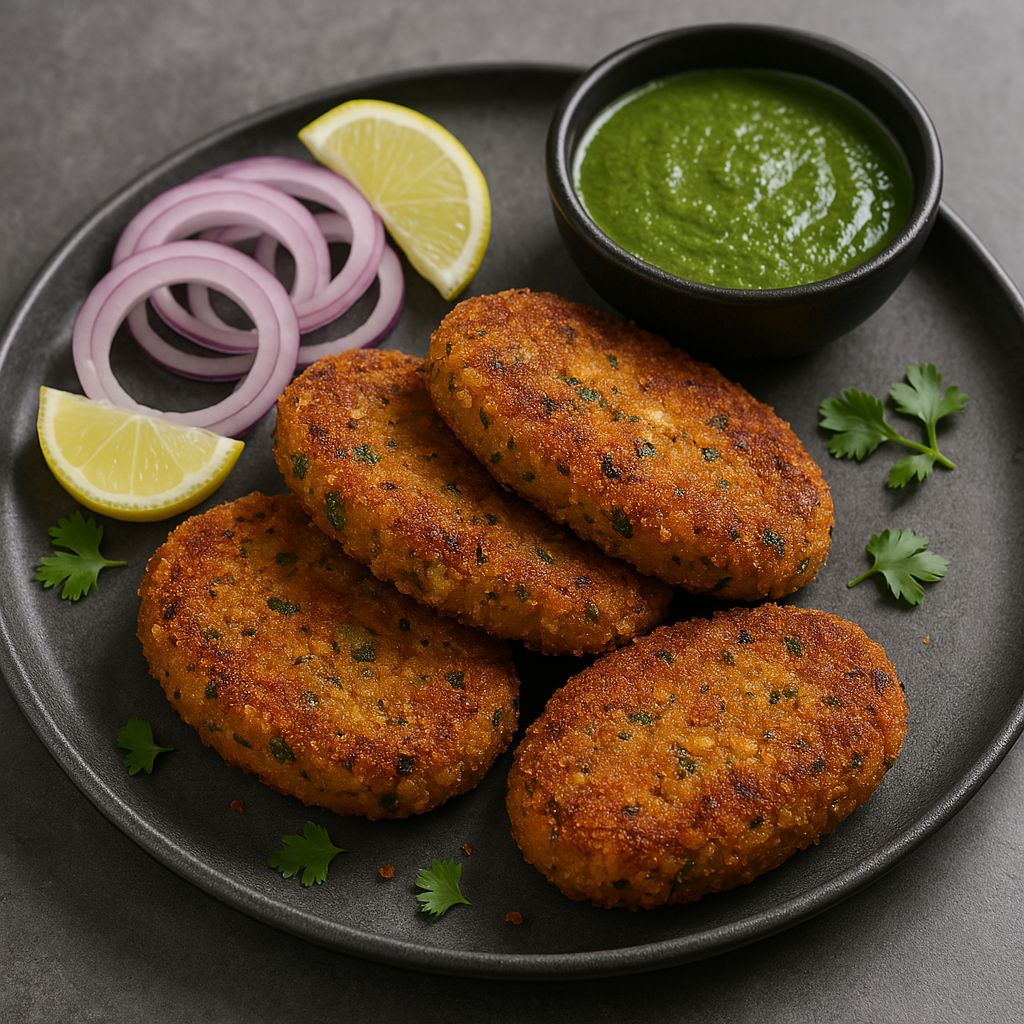
These Poha Cutlets are the easiest way to turn it into a crispy, spiced snack — with minimal prep and pantry staples.
Pair it with mint chutney or ketchup, and you’ve got a tea-time winner that no one will guess started with soaked poha!
🛒 What You’ll Need (Makes 6–8 cutlets):
1 cup thick poha, soaked and drained
2 medium boiled potatoes, mashed
1 green chili, finely chopped
1 tbsp coriander leaves, chopped
½ tsp jeera
½ tsp chaat masala or amchur
Salt to taste
1–2 tbsp breadcrumbs or roasted sooji (for binding, optional)
Oil for shallow frying
🍳 How to Make It – Crispy, Quick & Creative
1. Prep the Poha
Wash poha 1–2 times and let it sit for 5 mins. It should be soft but not mushy.
2. Mix the Dough
In a bowl, combine soaked poha, mashed potatoes, chopped chili, coriander, jeera, salt, and chaat masala. Add breadcrumbs if the mix feels sticky. Mix well.
3. Shape the Cutlets
Divide into equal portions and shape into round or oval tikkis.
4. Shallow Fry
Heat oil on a tawa. Shallow fry cutlets on medium heat until golden and crisp on both sides.
5. Serve Hot
With chutney, ketchup, or even curd. Great with chai or as a party starter!
❤️ Why Poha Cutlets Deserve the Spotlight
Made from basic, budget-friendly ingredients
Great way to use up leftover poha
Crisp outside, soft and spiced inside
Because snacks should never feel ordinary!